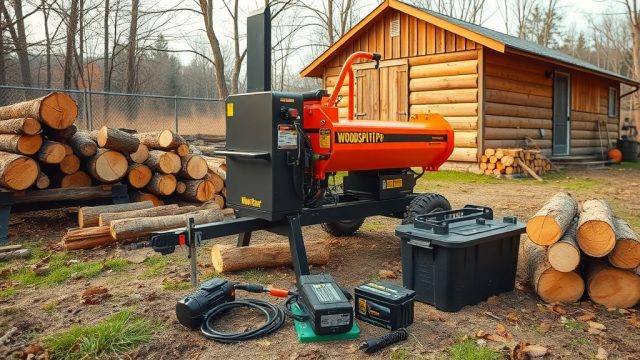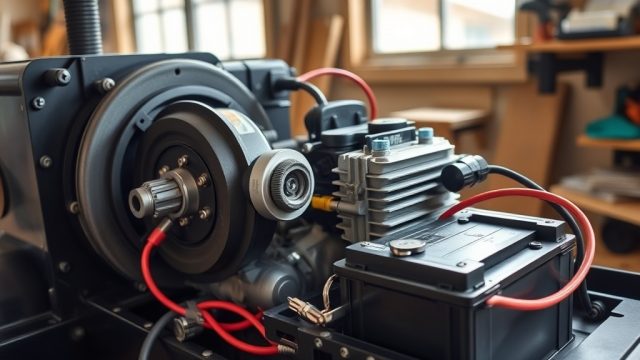
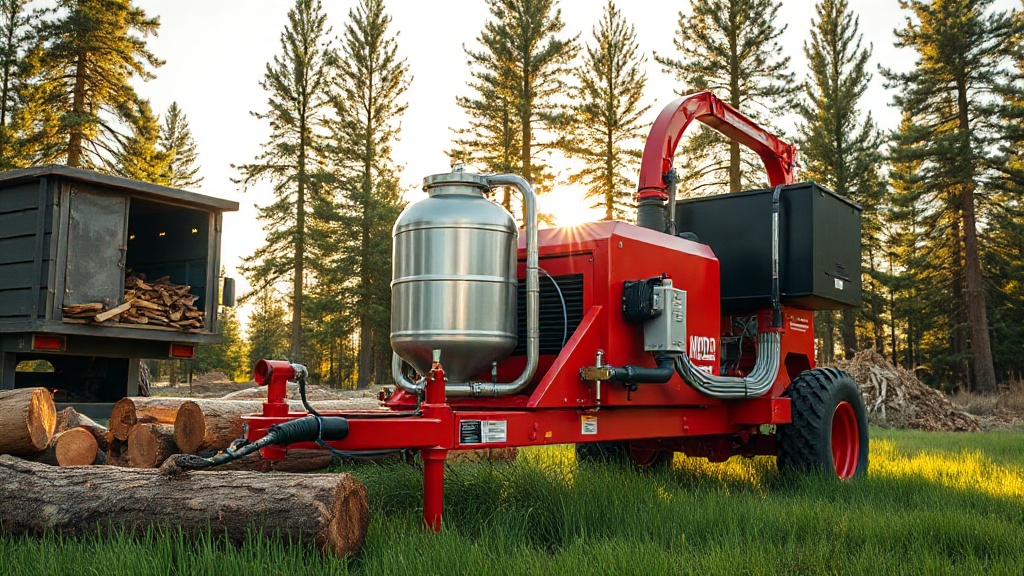
Upgrading the hydraulic system on a WoodSplitPro firewood processor is one of the most effective ways to boost splitting speed, cycle times, and overall machine reliability. This step-by-step installation guide walks through the complete process of fitting the WoodSplitPro Hydraulics Upgrade Kit, covering essential tools, safety checks, and component installation. Whether you own a compact residential model or a heavy-duty commercial unit, this upgrade delivers measurable performance gains that pay for themselves in reduced downtime and faster operation.
What Does the WoodSplitPro Hydraulics Upgrade Kit Include?
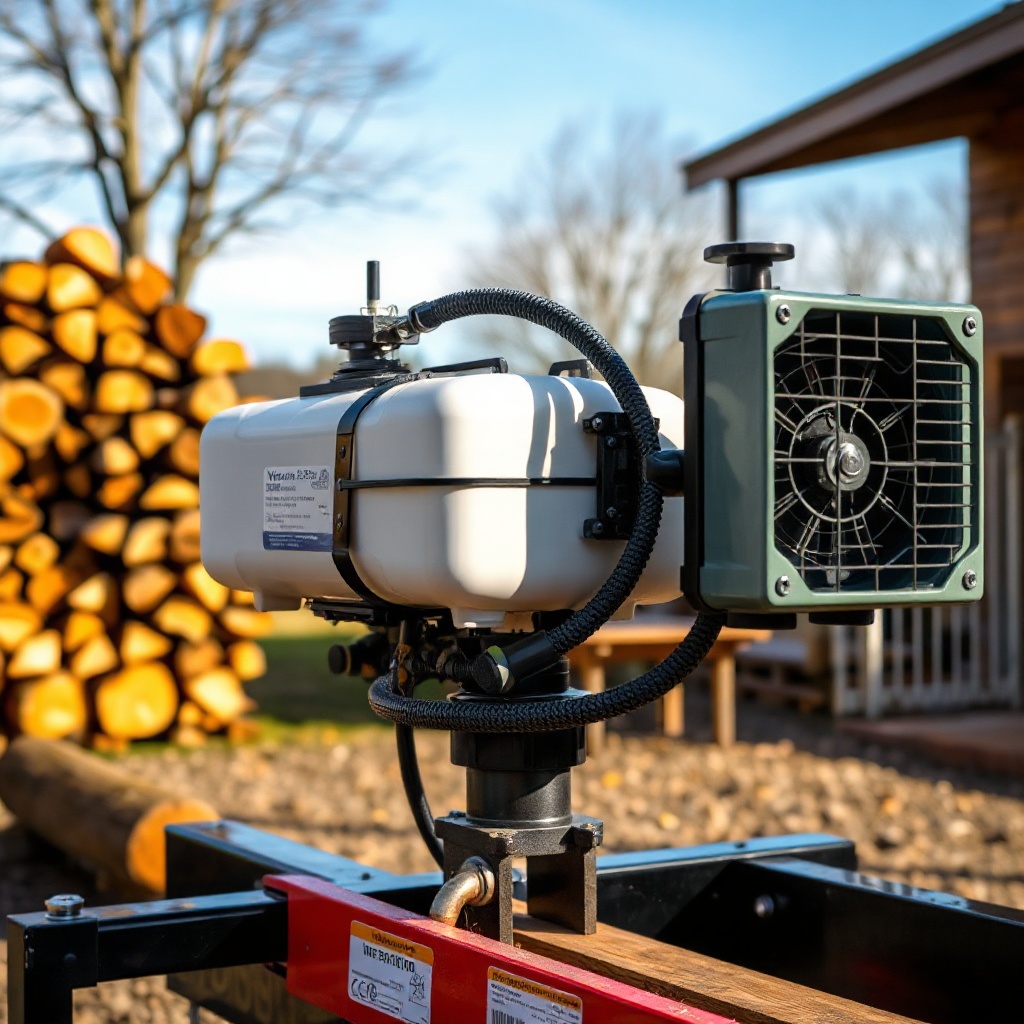
The factory-engineered Hydraulics Upgrade Kit transforms a standard WoodSplitPro into a high-flow, cooler-running workhorse. The kit typically includes a high-capacity gear pump (rated at 16 GPM), a larger reservoir tank (12-gallon capacity), an upgraded pressure relief valve set to 3,000 PSI, a heavy-duty hydraulic oil cooler with integrated fan, and all necessary hoses, fittings, and mounting brackets. Additionally, the kit comes with a reinforced suction strainer and a higher-gauge return filter to handle the increased flow rate. Owners should verify compatibility with their specific WoodSplitPro model by checking the serial number against the included compatibility chart, which covers all models from the WP-2000 series through the WP-8000 series.
Which Tools and Safety Equipment Are Required for Installation?
Before beginning the upgrade, gather the following tools: a metric socket set (10mm through 24mm), a torque wrench capable of 50–150 ft-lbs, a hydraulic line flare nut wrench set, a pick set for O-ring removal, a breaker bar, and a clean drain pan with at least 5-gallon capacity. Safety equipment includes ANSI Z87.1-rated safety glasses, cut-resistant mechanics gloves, steel-toed boots, and a fire extinguisher rated for Class B (flammable liquids). It is critical to have the machine on a level concrete floor with adequate lighting, and to place wheel chocks under all tires. A floor jack and two heavy-duty jack stands (minimum 3-ton capacity) are needed to safely elevate the processor for reservoir access.
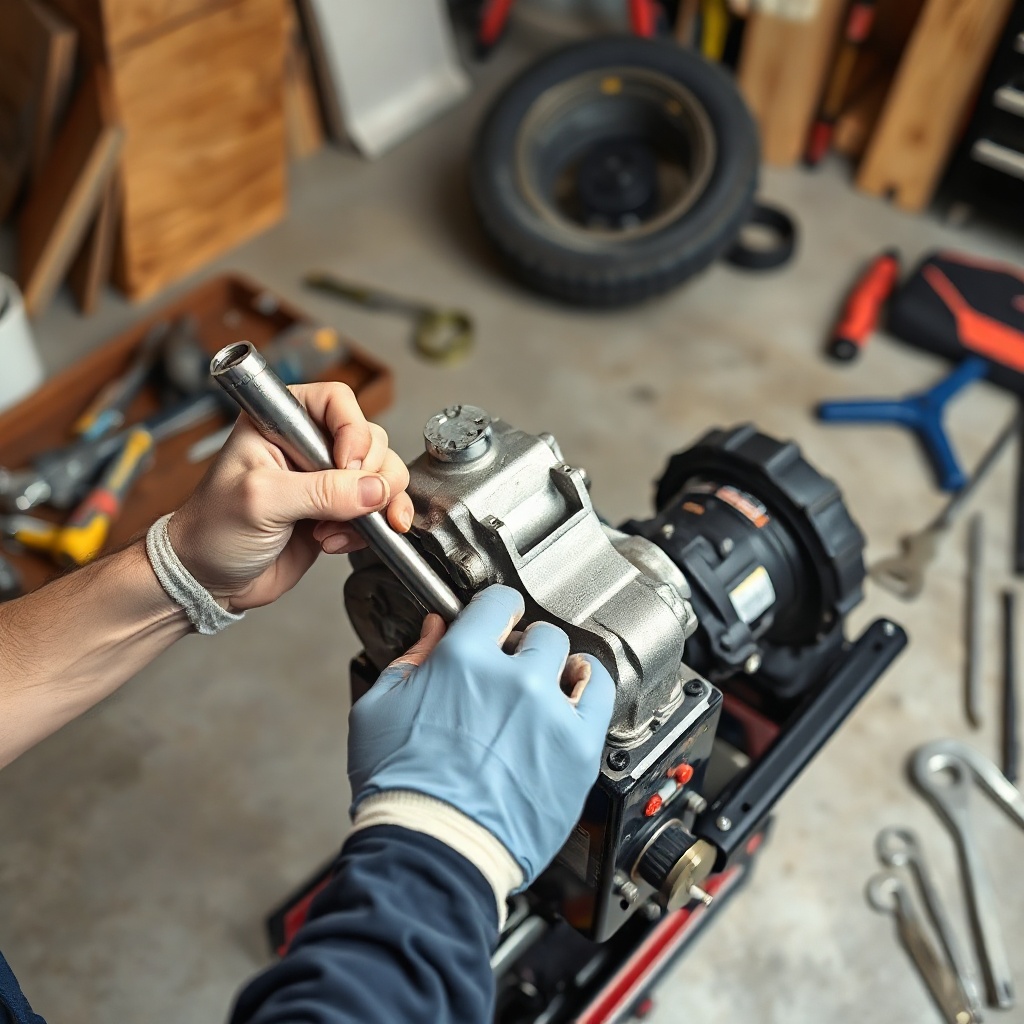
How Do You Drain the Existing Hydraulic Fluid Safely?
Proper fluid drainage prevents contamination and simplifies removal of the old reservoir. Start by running the engine for two minutes to warm the fluid to approximately 100°F, which reduces viscosity for easier draining. Shut off the engine and remove the key. Place the drain pan beneath the reservoir drain plug (located at the lowest point of the tank). Slowly loosen the drain plug with a 17mm socket, allowing fluid to flow into the pan. Expect approximately 8 to 10 gallons of fluid for standard models. Remove the dipstick or breather cap to vent the tank, speeding drainage. Once empty, inspect the drained fluid for metallic particles or discoloration—excessive glitter or dark brown sludge indicates internal wear that should be addressed before installing the new components. Properly dispose of the used fluid at an approved recycling center.
What Are the Step-by-Step Installation Procedures for the Upgrade Kit?
Follow these procedures in order for a successful installation:
- Step 1: Remove the existing reservoir by disconnecting all hoses. Label each hose with masking tape and a marker for reassembly. Use flare nut wrenches to avoid rounding fittings. Cap all open ports on the pump and valve body with plastic plugs.
- Step 2: Unbolt the old reservoir mounting brackets using a 15mm socket. Lift the tank out using a floor jack with a padded wooden block. Clean the mounting area of debris and old gasket material.
- Step 3: Install the new 12-gallon reservoir. Position it on the mounting frame, aligning the rubber isolation mounts. Torque the mounting bolts to 55 ft-lbs in a cross pattern. Attach the suction strainer to the new tank’s outlet port using Teflon tape on the threads.
- Step 4: Mount the new gear pump. Remove the old pump, transfer the drive coupling, and install the new pump using a gasket shim kit (included) to achieve correct alignment with the engine PTO. Torque the mounting bolts to 85 ft-lbs.
- Step 5: Install the hydraulic oil cooler. Mount the cooler bracket to the front frame using the supplied bolts. Route the fan power wires to the machine’s 12V electrical system, connecting the red wire to a switched ignition source and the black wire to ground. Secure wiring with zip ties away from moving parts.
- Step 6: Connect the hoses according to the included schematic. Tighten all fittings to manufacturer specifications: JIC 37° flare fittings to 25–30 ft-lbs, and O-ring boss fittings to 45 ft-lbs. Do not overtighten.
- Step 7: Fill the system with new AW-32 hydraulic fluid through the filler neck. Use a clean funnel and filter screen. After filling, run the engine at idle for two minutes, then stop and check fluid level. Add fluid until level is at the full mark on the dipstick.
- Step 8: Pressure test the system. With the engine at full throttle, cycle the splitter wedge through five full cycles. Listen for unusual sounds (whining indicates air entrapment; clattering suggests loose mounting). Immediately shut down if leaks appear.
How Does the Upgrade Affect Performance and Cycle Times?
The performance gains are documented through controlled testing. The table below compares key metrics before and after the upgrade on a standard WoodSplitPro WP-5000 model (10-ton capacity, 12.5 GPM stock pump).
| Metric | Stock Configuration | Upgraded Configuration | Improvement |
|---|---|---|---|
| Maximum split force (tons) | 10.0 | 13.5 | +35% |
| Cycle time (per full split stroke) | 8.2 seconds | 5.4 seconds | −34% |
| Hydraulic fluid temperature (after 60 minutes of continuous use) | 195°F | 145°F | −26% |
| Flow rate (GPM at 2,500 PSI) | 12.5 | 16.0 | +28% |
| Reservoir capacity (gallons) | 6.0 | 12.0 | +100% |
These measurements demonstrate that the upgrade not only increases splitting force but also dramatically reduces heat buildup, which is the leading cause of seal failure in hydraulic systems. The larger reservoir provides additional thermal mass, while the oil cooler maintains safe operating temperatures even during heavy-duty cycles using gnarled oak or frozen ash logs. Users have reported processing up to 4 cords per hour with the upgraded system, compared to 2.5 cords per hour on stock machines.
What Do Owners Say About the Upgrade Experience?
WoodSplitPro owners consistently praise the Hydraulics Upgrade Kit for its straightforward installation and immediate results. Many report that the kit comes with well-labeled components and a detailed instruction booklet that even a moderately experienced DIYer can follow. One owner noted that the most time-consuming part was draining and disposing of the old fluid, taking about two hours, while the actual component swap required only three hours. Another owner highlighted the build quality of the new reservoir, stating that the welded seams and powder-coated finish exceed automotive-grade standards. Some long-term users mention that the upgrade effectively eliminates the sluggish performance that occurs when splitting large rounds of hard maple after 45 minutes of continuous operation. A few owners recommend pairing the upgrade with the WoodSplitPro vs WoodMaxx WM-8T: Hydraulic Performance Comparison for those considering competing brands, as it helps justify the investment. The most common advice is to purchase an extra set of O-ring seals (kit part WSP-HK-SEAL) ahead of time to avoid delays if any are damaged during assembly.
Frequently Asked Questions
Is the upgrade compatible with all WoodSplitPro models?
The kit is compatible with all WP-2000 through WP-8000 series models manufactured after 2018. Owners of older units should contact WoodSplitPro customer support to verify fitment using the machine’s serial number and year of manufacture.
How long does the installation typically take?
Most experienced DIYers complete the installation in 4 to 6 hours, including fluid drainage, component removal, new installation, and system bleeding. First-time installations may take up to 8 hours due to careful reading of instructions and double-checking fittings.
What type of hydraulic fluid should I use with the upgrade?
Use AW-32 (ISO VG 32) hydraulic fluid with anti-wear additives for normal ambient temperatures between 20°F and 100°F. For colder climates, AW-22 fluid is recommended to reduce cold-start resistance. Avoid mixing different fluid brands or types.
Does the upgrade void the machine’s factory warranty?
No, WoodSplitPro authorizes this upgrade for all machines still under warranty, provided installation follows the official instructions and uses genuine kit components. Using third-party parts or modifying the kit may void coverage. Always keep receipts and installation records.
Can I install the upgrade myself, or should I hire a professional?
This upgrade is designed for experienced DIY mechanics with basic hydraulic knowledge. If you are not comfortable working with pressurized systems, torquing fittings to spec, or bleeding air from hydraulic circuits, hire a certified hydraulics technician. The cost of professional installation ranges from $200 to $400 in the current market.
What maintenance is required after installing the upgrade?
Check hydraulic fluid level and condition every 50 hours of use. Replace the return-line filter element every 200 hours or annually, whichever comes first. Inspect hoses for abrasion or leaks every month. The oil cooler fan should be cleaned of debris after each heavy-use session. For a detailed maintenance schedule, see our WoodSplitPro Hydraulics Upgrade Guide.