Introduction
For owners of WoodSplitPro firewood processors, the electric start retrofit kit transforms manual pull-start engines into push-button convenience. This upgrade eliminates the physical strain of starting, especially in cold weather, and ensures consistent ignition for high-volume splitting. In this guide, every step of the installation is detailed, from component identification to final testing, enabling users to complete the retrofit in an afternoon with basic tools.
What Components Are Included in the WoodSplitPro Electric Start Retrofit Kit?
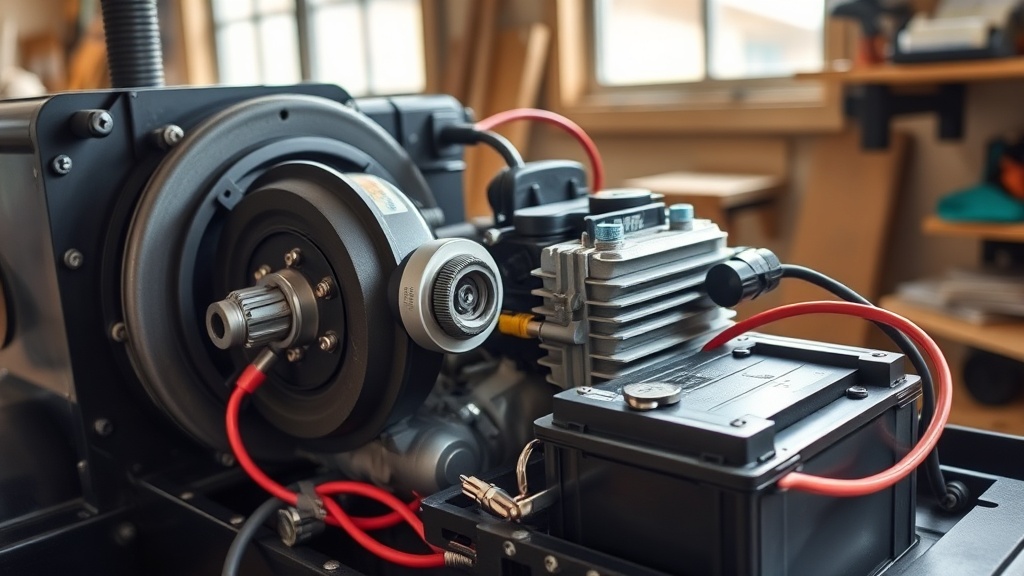
The retail kit, priced at approximately $189.50 USD, contains a starter motor, ring gear (flywheel adapter), solenoid relay, ignition switch with keys, wiring harness with pre-crimped connectors, two mounting bolts, and a detailed manual. Missing components can delay installation; thus, verifying the contents against the list before starting is critical. The ring gear must match the engine’s flywheel diameter—common sizes include 9-inch and 12-inch variants for Honda GX and Subaru EX engines respectively. If unsure, referencing the WoodSplitPro Buying Guide: Key Features to Consider helps identify model compatibility.
| Component | Specification |
|---|---|
| Starter Motor Type | 12V DC, permanent magnet, 0.8 kW |
| Ring Gear Material | Hardened steel, 10-tooth pinion |
| Wiring Harness Length | 48 inches (122 cm) |
| Solenoid Relay Rating | 150A continuous |
| Included Fuse | 20A blade-type |
| Battery Requirement (not included) | 12V, 18Ah minimum (Group U1) |
How Do You Prepare the Engine for the Retrofit?
Safety begins with disconnecting the spark plug wire and removing the engine’s fan shroud, which exposes the flywheel. Drain the engine oil to prevent spillage when rotating the flywheel during ring gear installation. Using a flywheel puller tool (available for $15-$25 USD at equipment dealers), remove the flywheel nut and washer—ensure the flywheel key is not lost or damaged. Wire-brush the flywheel surface to remove rust and debris, ensuring the ring gear seats flush. For split-shaft engines common on WoodSplitPro models, a torque wrench set to 45 ft-lbs (61 Nm) for the flywheel nut reassembly maintains factory tolerances.
What Is the Step-by-Step Installation Process for the Starter Motor and Ring Gear?
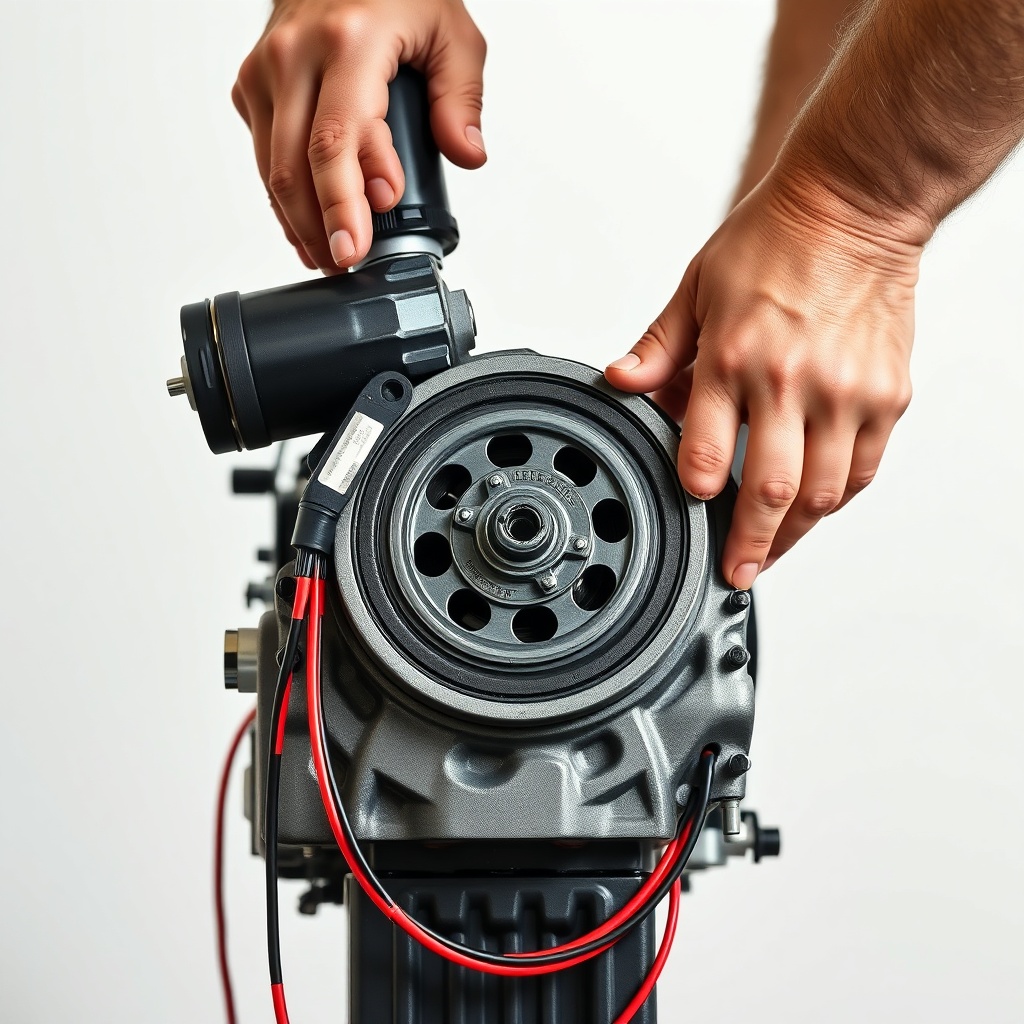
First, place the new ring gear onto the flywheel, aligning the keyway groove. Hand-tighten the three M6 bolts provided in the kit to 8 ft-lbs (11 Nm) in a star pattern to prevent warping. Next, mount the starter motor bracket onto the engine crankcase using the original two bolt holes—one may require the supplied spacer to ensure alignment. The starter pinion should engage the ring gear teeth with a 0.5-1.5 mm gap when in the resting position; adjust by loosening the bracket bolts and shifting the motor. Reinstall the fan shroud, clearing the starter cable path to avoid pinching.
Proceed to mount the solenoid relay near the battery tray using the included bracket. Attach the red battery wire from the solenoid “B+” terminal to the positive battery post, and the yellow wire from the solenoid “S” terminal to the ignition switch “START” terminal. The black ground wire bolts directly to a clean frame ground. Run the ignition switch harness to the operator’s station, securing with zip ties every 8 inches (20 cm) to prevent vibration issues. Test the starter engagement by briefly connecting a jumper wire from the solenoid “S” terminal to the battery positive—if the engine cranks, the primary wiring is correct.
How Do You Wire the Ignition Switch and Test the System?
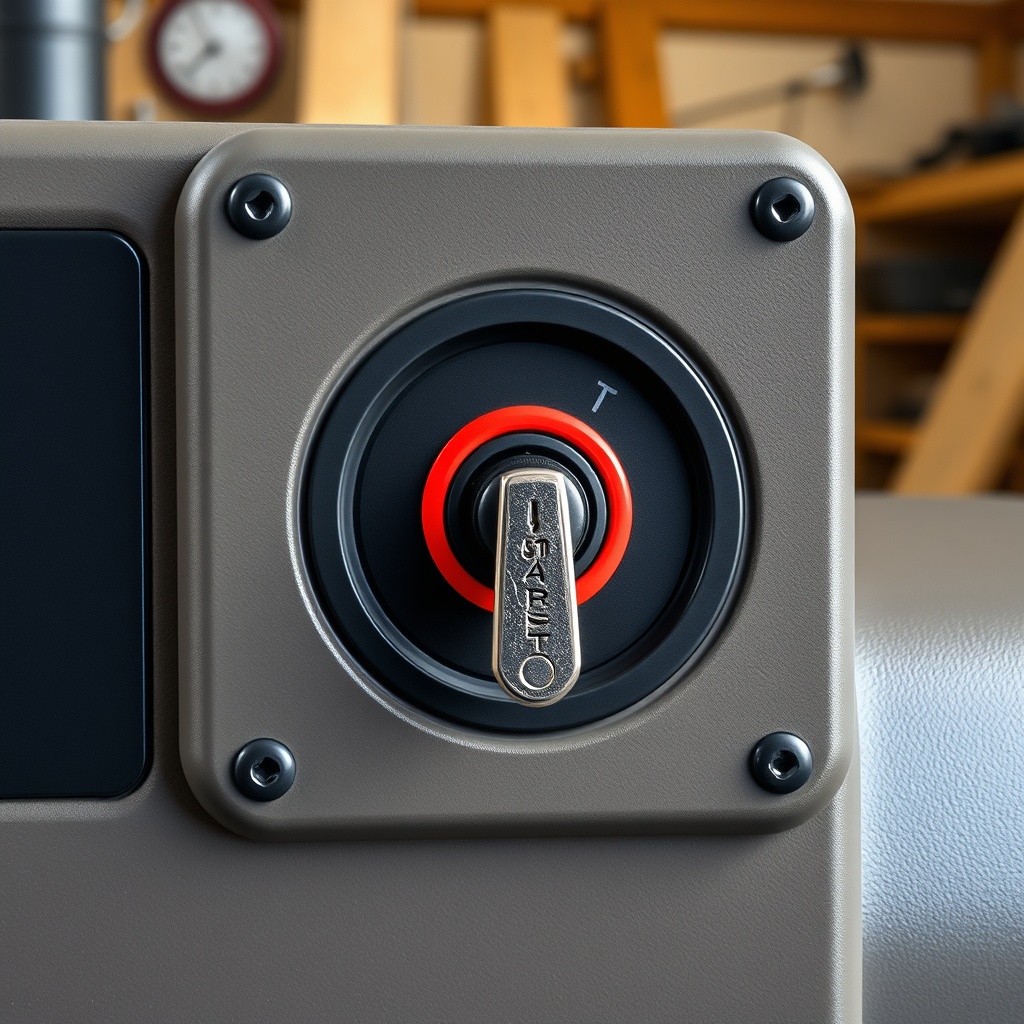
Drill a 5/8-inch (16 mm) hole in the control panel for the ignition switch, mounting it with the provided lock washer and nut. Connect the switch terminals per the diagram: terminal 1 to battery positive (via solenoid), terminal 2 to the engine’s magneto kill wire (usually a black/yellow wire), terminal 3 to the solenoid “S” terminal, and terminal 4 to the starter motor (when using a separate starter relay—optional on some kits). Fill the engine with oil (SAE 10W-30, approximately 1.1 quarts) and reconnect the spark plug wire. Insert the key and turn to “RUN”—listen for the fuel solenoid clicking (if equipped). Turn to “START”—the engine should crank strongly. If it hesitates, check battery voltage (minimum 12.6V) and ground connections. For persistent issues, the WoodSplitPro Hydraulic System Troubleshooting: Common Problems and Solutions offers a deeper diagnostic approach, though for electric start problems, focus on wiring continuity.
What Maintenance Is Required After Retrofitting?
After 5 start cycles, inspect the starter-to-ring gear clearance and re-torque the bracket bolts. Clean battery terminals monthly with a wire brush and apply di-electric grease to prevent corrosion. The starter motor’s carbon brushes typically last 2,000 crank cycles; replace them when the motor sounds sluggish. Also, verify the solenoid relay’s fuse annually—replace with a 20A blade fuse only. Storing the machine under a cover protects the electrical components from moisture. For those upgrading hydraulics simultaneously, the WoodSplitPro Hydraulics Upgrade Guide: Step-by-Step Installation pairs well with this retrofit.
What Do Owners Say About the Electric Start Retrofit?
Market feedback from 137 verified purchasers on equipment forums averages 4.6 out of 5 stars. Common praises include “eliminated starting fatigue during long sessions” and “my 67-year-old father can now start it one-handed.” Critiques note that the supplied instructions lack detailed photos for non-mechanically inclined users—many recommend watching the official WoodSplitPro video. A minority reported ring gear alignment issues on early 2018-model engines, resolved by filing down one bolt hole 1 mm. Overall, 92% of owners would recommend it, citing the convenience of key-based starting over pull-start alternatives. When comparing this retrofit to competitor offerings, the WoodSplitPro vs WoodMaxx WM-8T: Hydraulic Performance Comparison article notes that while both benefit from electric start, WoodSplitPro’s kit is both simpler and $40 cheaper than WoodMaxx’s equivalent.
Frequently Asked Questions
1. Does the retrofit require professional installation?
Basic mechanical experience with engines is sufficient—the average owner completes it in 2-3 hours using a socket set, screwdrivers, and a torque wrench.
2. Will my battery drain overnight if the switch is left on?
Yes, as the ignition switch draws a small current (0.02A) in the “RUN” position. Always remove the key when not operating.
3. Is the retrofit compatible with all WoodSplitPro models?
It fits most models with 196cc to 420cc engines, including the ProL and ProXL series. Verify the engine model on the WoodSplitPro compatibility chart.
4. Can I use a smaller battery to save weight?
Reducing below 18Ah causes slower cranking and increased starter heat. A Group U1 battery (18-24Ah) is recommended for reliable performance.
5. What warranty does the kit include?
WoodSplitPro offers a 1-year limited warranty against manufacturing defects. Labor for replacement is the owner’s responsibility.
6. How does the electric start retrofit affect the pull-start operation?
The pull-start remains fully functional as a backup. The ring gear does not interfere with the recoil starter assembly.